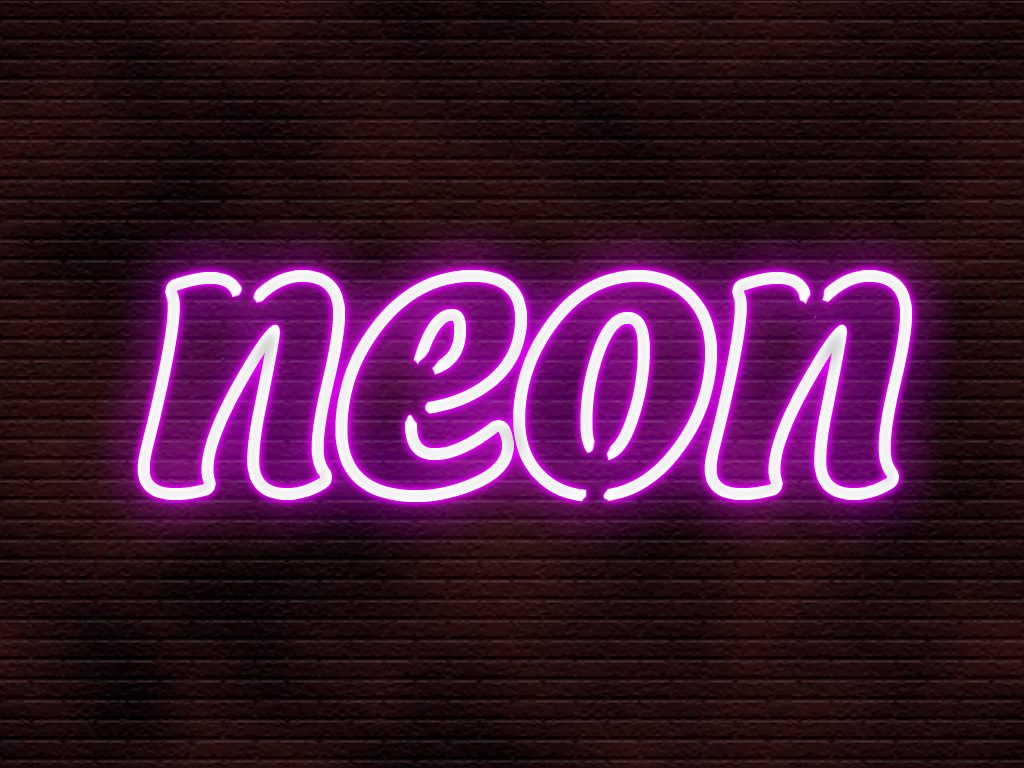
this is a simple tutorial on how to turn text and other shapes into a neon sign!
first, we'll start with a blank document and the shape we want to turn into a neon sign. for this example i'm using simply the word "neon" in a fancy typeface.
next, use the stroke layer style to create a thick layer, it doesn't matter what color. this will be the body of your neon sign. for my example, i used a thickness of 12px
once you have your outline, create a layer from the style (if you're using text, rasterize the type first). this will create a layer that is not only the stroke but also the full shape, which we don't want.
to get rid of the shape, simply select the original shape layer (ctrl-shift or command-shift and then click on the layer) and delete the selection from the stroke layer, cutting it out. you can now delete the original shape layer.
to help see the next steps better, fill your background with a dark color, but don't use pure black. here i'm using a very dark red (#1A0A0A). now that you can see the body of your neon sign contrasting against the background, use the eraser to cut parts of the outlines so you make open, single-stroke shapes, just like real neon lamps are. it can help to use an eraser the same size you used to make the stroke layer.
now comes the fun part! open the layer styles for the neon outline and make the following changes:
once you finish setting those styles, you should be left with something like this!
and now that you have that done, you can even save the layer styles into your swatch for easy usage later.
to make our final image more interesting, we can give the background a bit more texture, like a brick wall. first, create a layer above your dark background and use filter -> render -> clouds, making sure your active colors are the default black and white. then, set the layer blending of the clouds to overlay and merge down with your background. finally, use filter -> texture -> texturizer... to give it more depth. for my 1024x768 picture, i used the brick texture at 200% scale and a relief value of 2 to keep it subtle.
this technique is easy to adapt also for paths, if you use the stroke path function with a thick brush of choice in order to create the body of the neon lamp.
i hope you enjoyed this tutorial, and may your creations shine brightly!