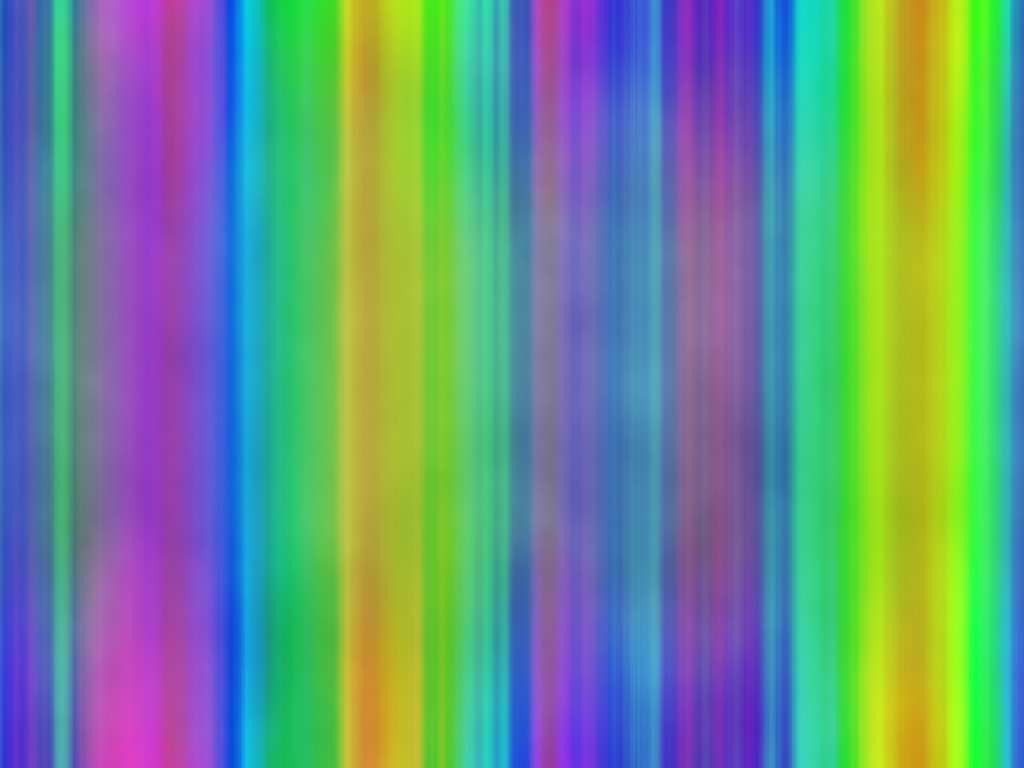
this is going to be a very simple tutorial, but it's one of the basic techniques i use for making abstract wallpapers
first, start a layer with filter -> render -> clouds with the default black and white colors on your toolbar:
then, add two adjustment layers, first a curves and then a gradient map. the gradient can be whatever colors you want for the picture, in my example i went with the built-in spectrum rainbow gradient. next, adjust the curves layer so that your clouds map to as much of your gradient as possible
then, flatten the image to commit the adjustment layers and use filter -> blur -> motion blur on your resulting layer. in this example we're gonna make vertical lines, so set the direction to 90 degrees and crank the distance all the way up
now, to add a bit more texture to it, create a new layer and use filter -> render -> clouds on it as well, set its blending to overlay with a very low opacity, like 20%
if you want to go an extra mile, a trick i like to use is filter -> texture -> patchwork..., exploiting the sweetspot in it where a square size of 3 makes the texture look less defined than in other settings. for my example i used a relief of 2
and there you have it, using simple techniques like these you can make your own custom abstract wallpapers in no time!